
Studio Organization and Storage for Small Spaces
Finished!
With giving up my off-site studio earlier in the summer and a planned art space in the basement being shelved due to larger issues with the basement (one of the many exciting things about living in a 130 year old house….) the space for my art is a bit limited currently.
Previous to getting our puppy my work would simply spill out into the living room, or I would paint on the floor of the dining room if pressed for space — no big deal. Now that he is in our lives that’s both unsafe for him AND the paintings. I need everything to fit in the confines of my actual studio room and for the doors to close.
I always prefer to look at obstacles as challenges, and as someone who began working at a tiny desk, then graduating to the kitchen table - I can work with a small space. I just need to get smart about where things are located and build upwards.
After a few iterations on paper I purchased a couple of items on Amazon and started laying out my plans.
(Also a note, some of these are affiliate links - no extra charge to you if you purchase through me, but I receive a small portion of the proceeds.)

Taking pictures first!
Step One; Photographing work (for storage and display)
I start by grouping the paintings into those that still need to be photographed, and those that don’t. For photos I try to make sure I have 3 types:
A few photos on my phone. (These are for instagram and other quick sharing apps.)
A few hi res photos taken with my DSLR. ( I use these for my website and marketing materials)
One Instax photo (I take these and stick them onto the wrapped canvases. This way I know exactly where each painting is without having to dig through the stacks.)

Any excuse to use little guy. I love him.
Step Two; Protecting the Finished Paintings
I like to keep my paintings wrapped in clear plastic with reusable enclosures. This keeps out the moisture, flying paint, bugs and whatnot. (Example: Canvas Bags from Clear Bags)
Once they are wrapped up I add the instax photos to the longest side.
I’ll be stacking these upright on top of a heavy duty table, so considering where the canvas will touch other canvas is extremely important. Canvas leaning directly into canvas is a good way to dent work, so I always stack bar-to-bar or face-to-face. When sizing differs, I use sheets of cardboard to spread out the force.

See the cardboard?
To store work like small canvases, boards or paper I use these bamboo dish drying racks. It’s important to make sure the work isn’t resting on the spindles however, so if the painting is of a size that could shift and collapse inwards I don’t use these. Great for work 11 x 14 and under!

Bad! Don’t let your canvases get dented!

This is much better.
Another thing I keep by my work is a little thermometer/humidity monitor. (This is how I learned the basement wouldn’t be a suitable storage area until we handle a few other issues.) Humidity and my artwork do not mix. I’m sure in most homes and studios it’s not necessary - but we’re still learning all the fun aspects of this place so I like to have a record of the temperature and moisture content of the air.

Now that the storage area is all set - it’s time to work on the supplies!
I’m terrible at letting supplies sit out and build up and completely take over my painting surface. In my previous studio layout (painting table against the wall) the miasma of water cups and mixed paints would grow each day out from the walls like some fantastically colored mold…. which is exactly how I ended up painting in the living room.
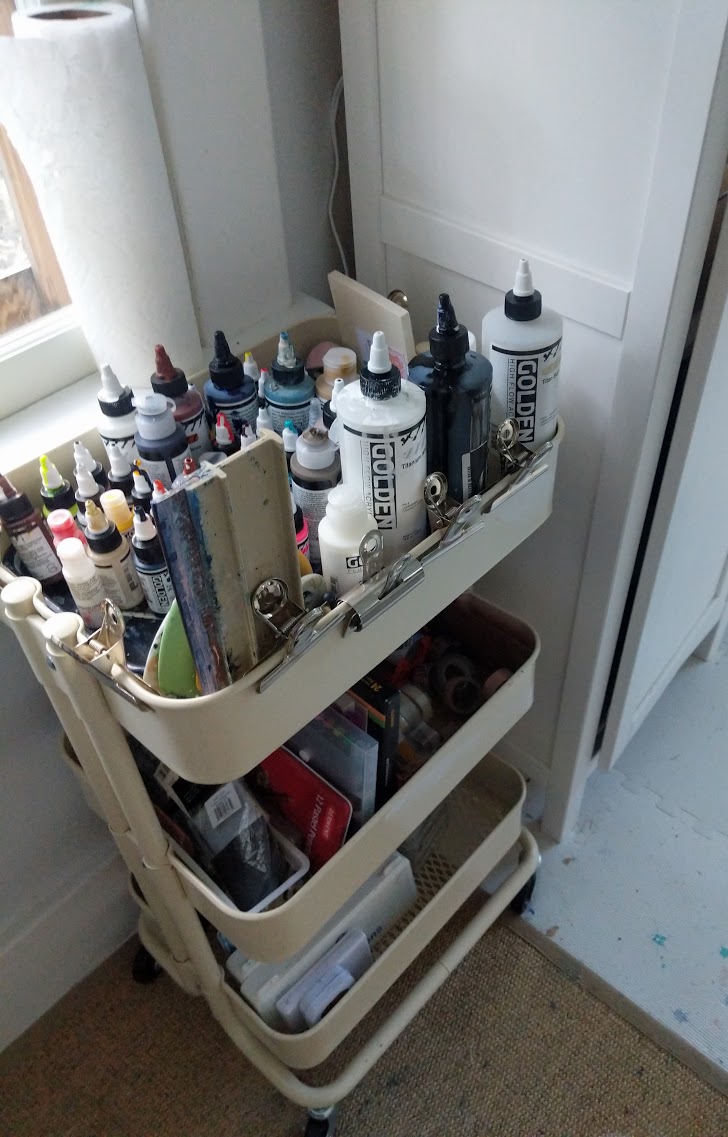
So I Marie Kondo-ed everything in my painting cart, on my painting table and in my cabinet and ended up with a much smaller collection of materials I use daily.
( I did deviate slightly from the traditional Marie Kondo method, as I didn’t get rid of the lesser-used supplies, I just moved those into storage in the basement. I still use them, but not often enough to take up valuable studio space)

Yikes.
The Cart:
It was a disaster before, no rhyme or reason for where things were stored. When we brought home little Chewbacca I removed everything chewable from the bottom shelf and just sort of haphazardly put it on top until I could find somewhere else to keep it. It stayed there for way too long.
My new method; all heavily used paints go on the top shelf (out of reach of prying mouths), all lesser used paints go in the cabinet. The second shelf is for tape and boxes of pencils/markers/pastels, the third shelf is all of my palettes.
Everything is much more easily accessible - and puppy friendly.
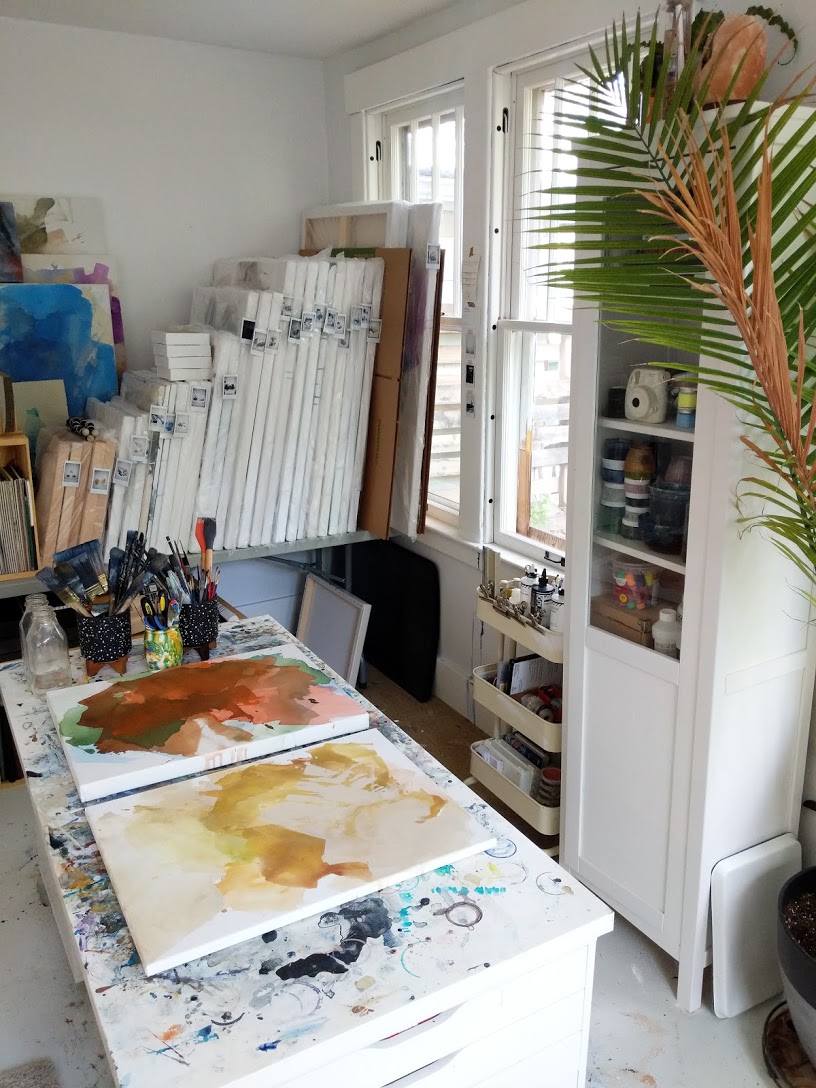
I want an empty table. Well, empty-ish. Brushes, basic tools, pencils - everything I use in day-to-day can be out, but that’s it. When I had my off-site studio space I ADORED being able to walk fully around the painting area, so I wanted to keep that a function of this space.
I ditched the metal legs under the table and instead set it on top of my two flat files. By combining the furniture in the space I could open up a bit more walking room. This setup also discourages any significant cup/paint buildup as there are no walls so grow outward from. Fingers crossed it can stay this way!

So this is where my space is at currently. Even though more paintings are being stored in here I think I ended up giving myself a larger workable area, which is exciting. The early fall light is so perfect in here too, the pup can take advantage of more sunbeams!
I may look for additional storage/studio space next summer, but for now I’m really happy with my tiny studio.

Obligatory puppy tax <3