
DIY wedge tool!

One of my favorite tools to work with is the rubber wedge. These come in all sorts of shapes and sizes and from a myriad of different brands (for some of my favorites head over to my Amazon page!) but sometimes the mark I need to make is so specific, that I have to form my own.
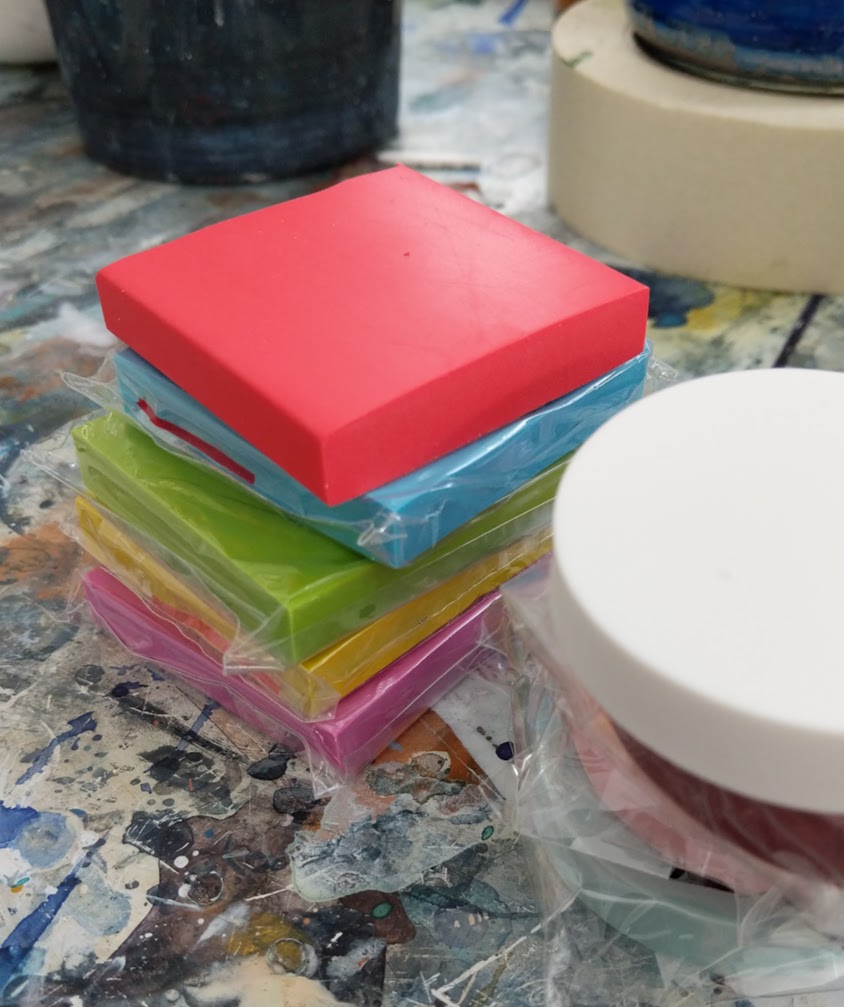
For this I bought a pack of stamp backs, put a new blade in my exacto knife and got to carving.
Follow along below to make your own!
Materials;
Rubber carving blocks. (I used these)
Exacto knife, or carving tools.
Cutting mat to protect your table (I use old magazines)
Pen
Step 1: Plan your stamps.
Make a few sketches of the marks you want to make with your wedge to determine where your cuts need to be. Or don’t - and just start cutting, sometimes not knowing what a tool will do produces some really cool marks.

Step 2: Cut!
Start cutting into the rubber. As you can see, I am not a master of clean, careful cuts. Thankfully rubber is forgiving. You can decide at this point if you want to keep each wedge it’s own mark, or combine different types of marks on one wedge. I did a bit both, making a wedge where all four sides produced a different effect, and making a few that were dedicated to particular pattern.

Step 3: Test your new wedges!
Try them out with a few consistencies of paints, thicker paints will act very different than thinner and will give you relatively varied marks.


If you make some I’d totally love to see what you come up with! Leave me a message here or get in touch via Instagram.
<3 <3