How I Stretch Canvas - Tutorial
I've gotten a number of questions asking how I build/prepare my painting surfaces, and am still so excited about the previous InstaStory tutorial I made - so I thought I might put together a little blog-compendium for the story. This will be a bit more information with links and such that couldn't be addressed in the story form. ((Though, the story has a few mess ups - follow me to see the mistakes!))
This tutorial begins with a pre-made set of stretcher bars from a previous painting, though I will cover various ways to create your own stretcher bars in a future post. For now, grabbing a set from an art store should suffice.
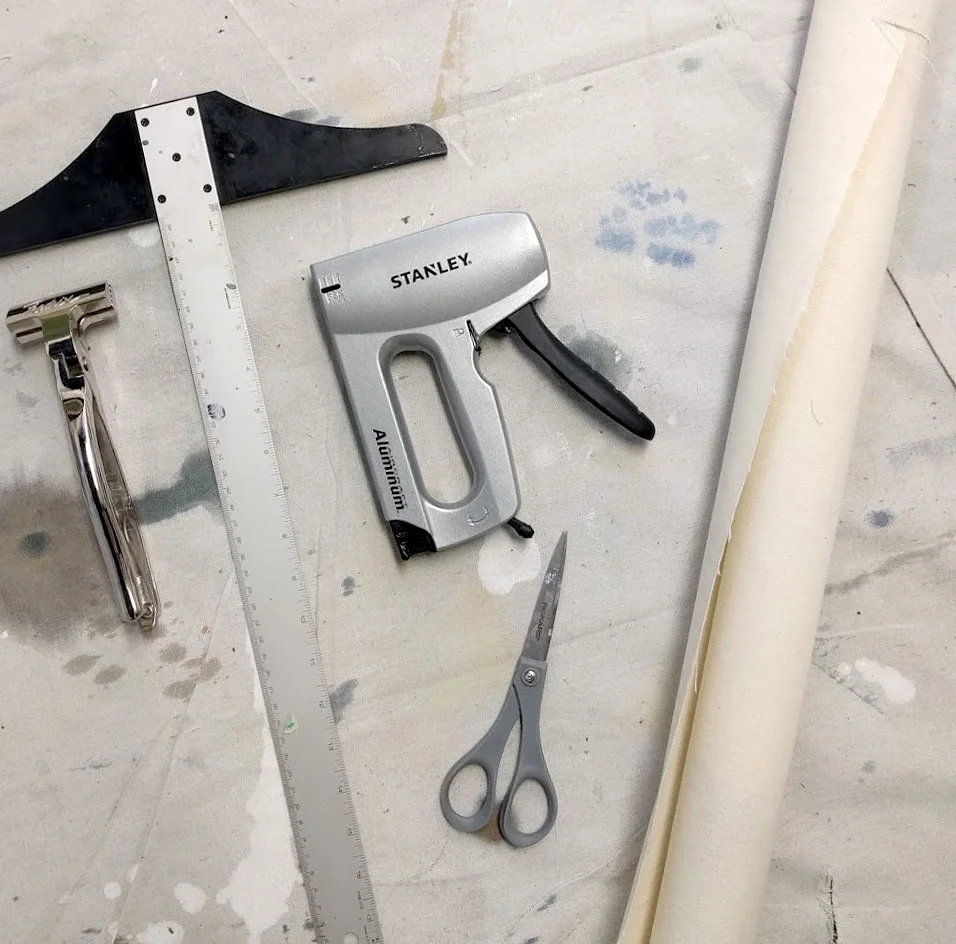
Step 1.) Materials:
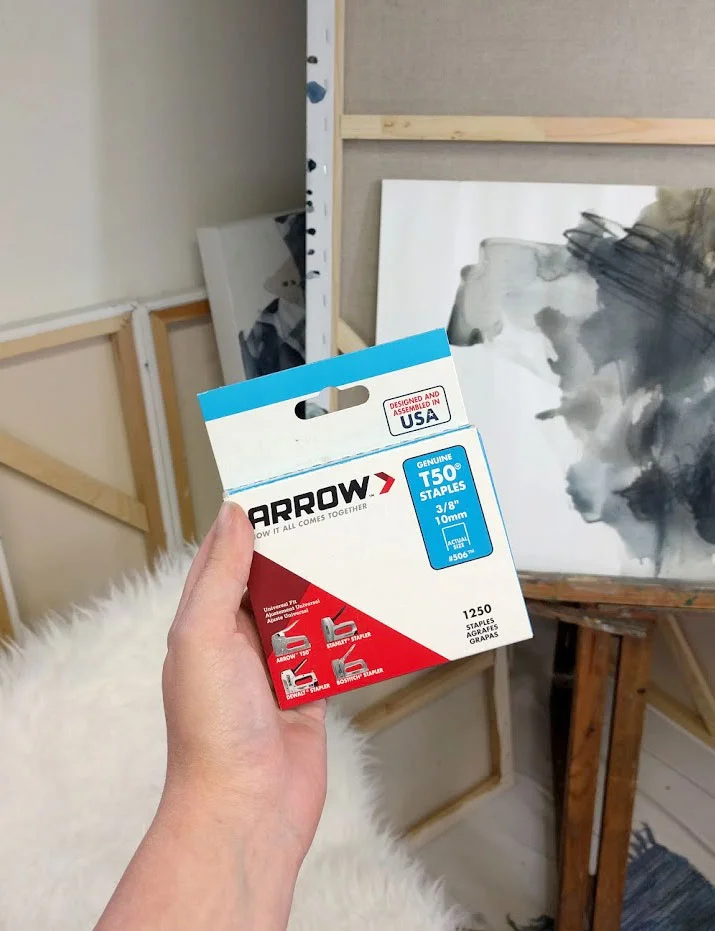
Here I have (from left to right;) My trusty Fredrix canvas pliers, T-square, Stanley Staple gun, T50 Staples, Scissors and Canvas Roll.
List:

Step 2.) Roll Out
I'm a huge fan of "measure twice, cut once", so when I roll the canvas out I don't just eyeball the extra length. I make sure that each side will reach (with some extra room too!) past the stretcher bars.

--- > Note here, if your stretcher bars have a lip like this, that needs to be on the bottom, on what will be the surface for the painting.
Step 3.) Lay Out
Once the canvas has been measured, cut the roll to leave enough space around the stretcher bars for stapling. Some of the canvas may be warped from storage and you can absolutely iron it -- but it should pull taut during stretching regardless. Make sure that the stretcher bars are lined up with the grain/weave of the canvas.
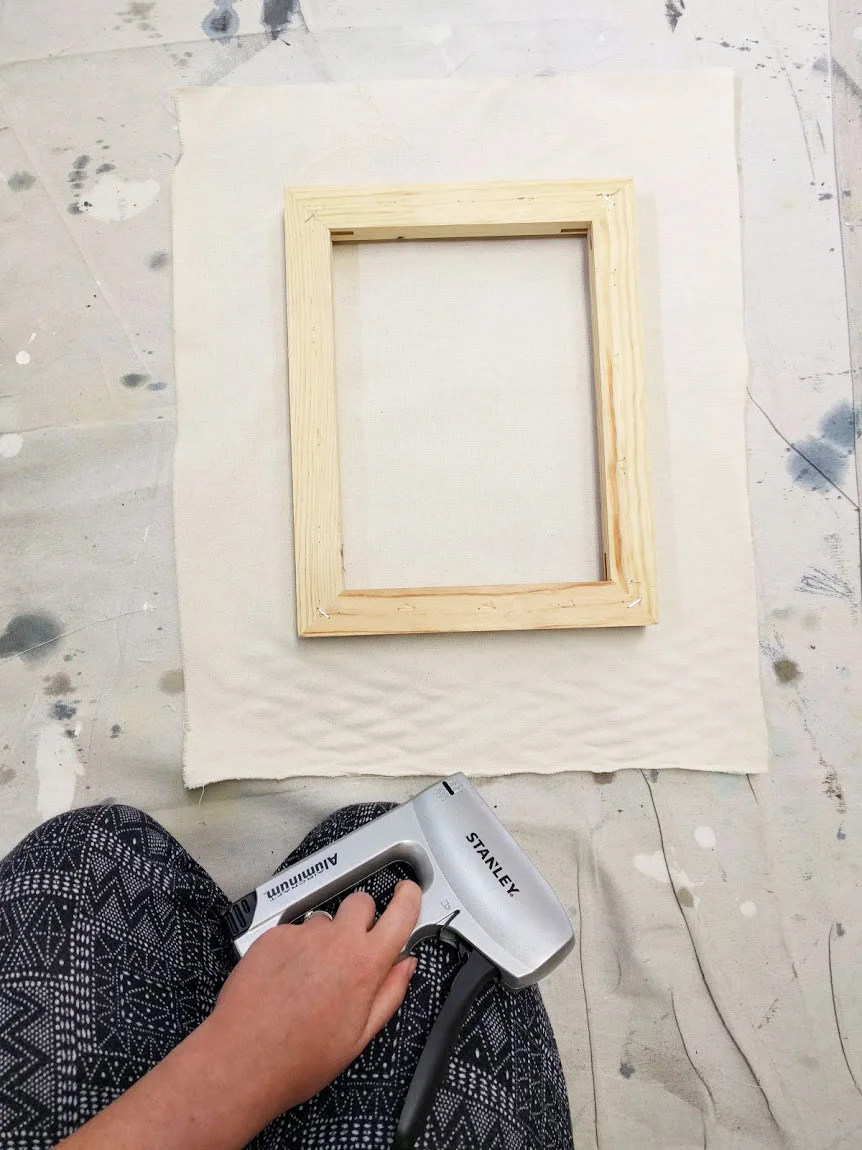

Don't pull too hard, just finger taut is fine. Too much pulling and the canvas might pull apart or rip through the staples. Don't hulk out.

Step 4: STAPLE!
Place the first staple. I put mine in at an angle so it won't tear with the grain if it happens. Turn the canvas 180 degrees, and put in the next staple, pulling the canvas taut either with your hands, or the canvas pliers. (Pliers make the job easier on your fingers/knuckles)

Step 5.) MORE staples!
Keep turning the canvas until each side has one staple, making a cross pattern of stretched canvas in the middle. From here, add one staple to each opposite side and continue to work your way out to the corners.

Step 6.) EVEN More Stapling!
Continue stapling until you get an inch or two away from the corners. With bigger canvas you can leave closer to 2, but I usually ballpark about an inch for anything smaller than 18 x24. The canvas should be stretched taut until the corners where a bit of rippling is fine, we'll pull it when we do the corners.

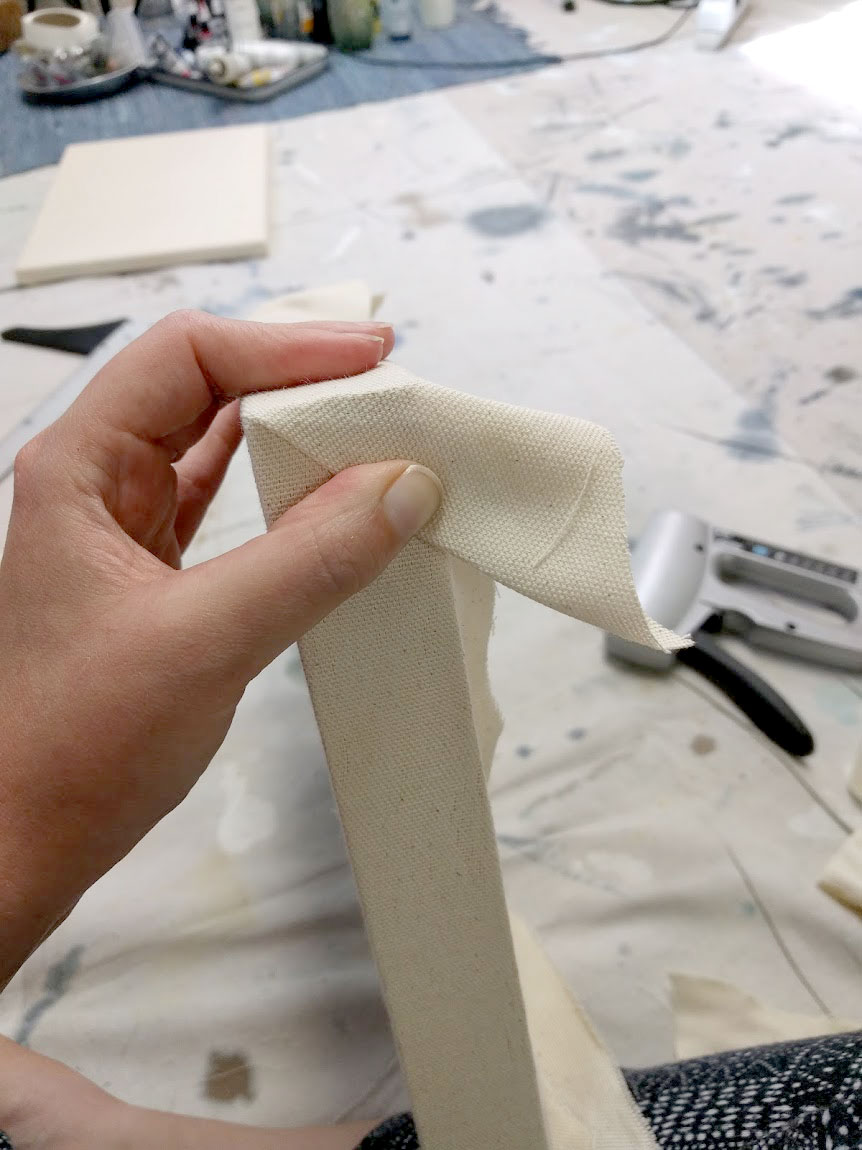
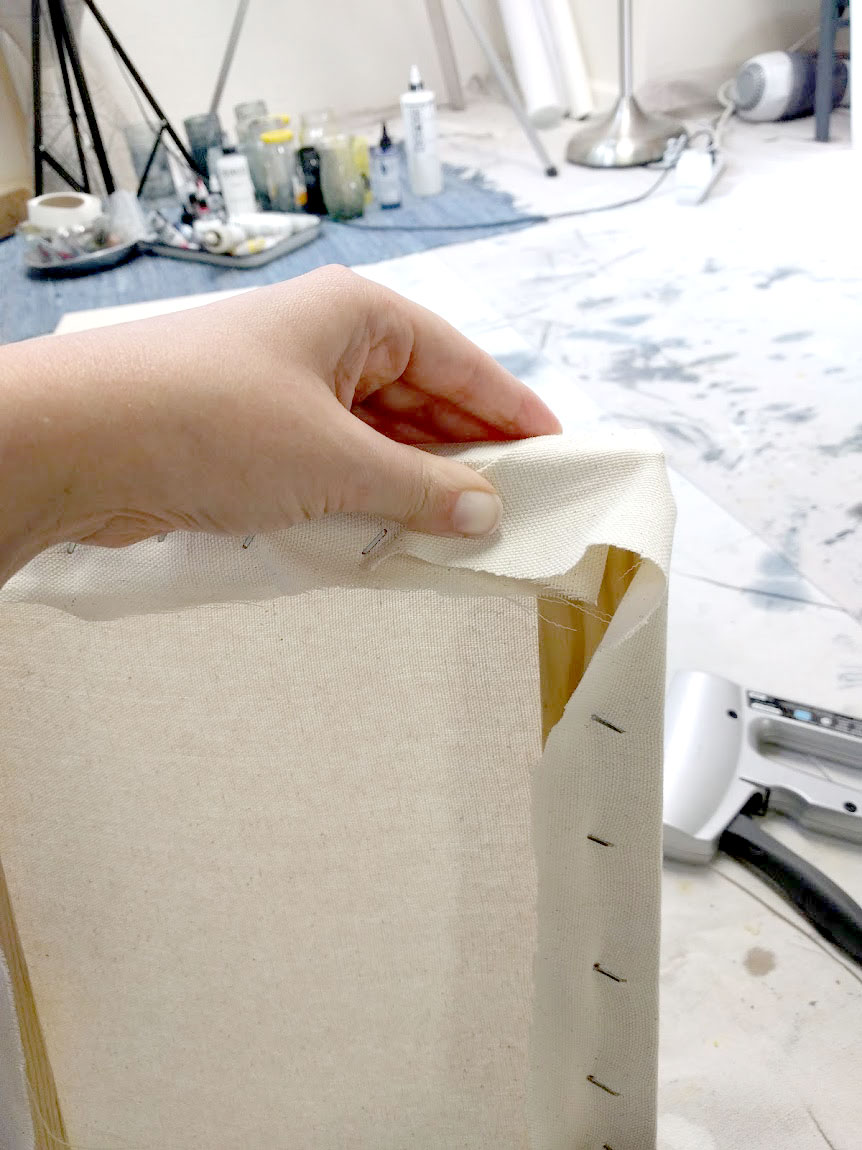
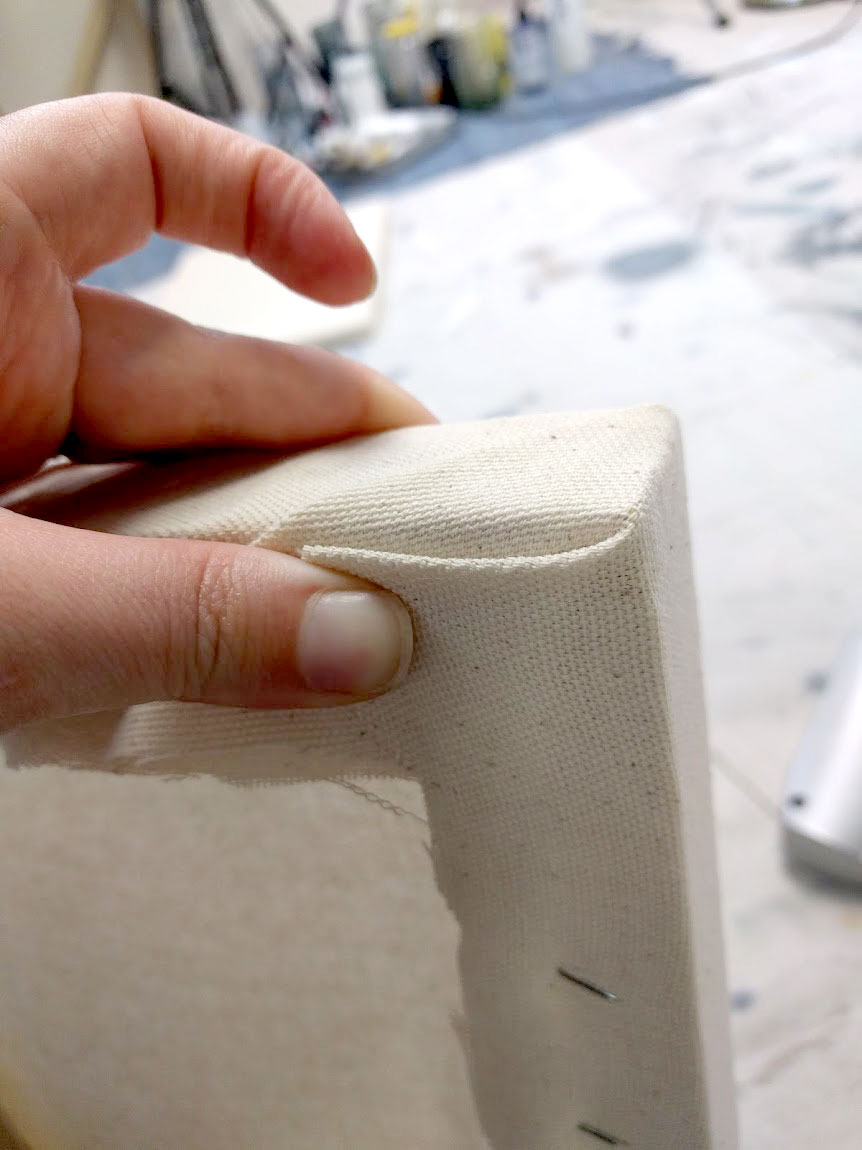
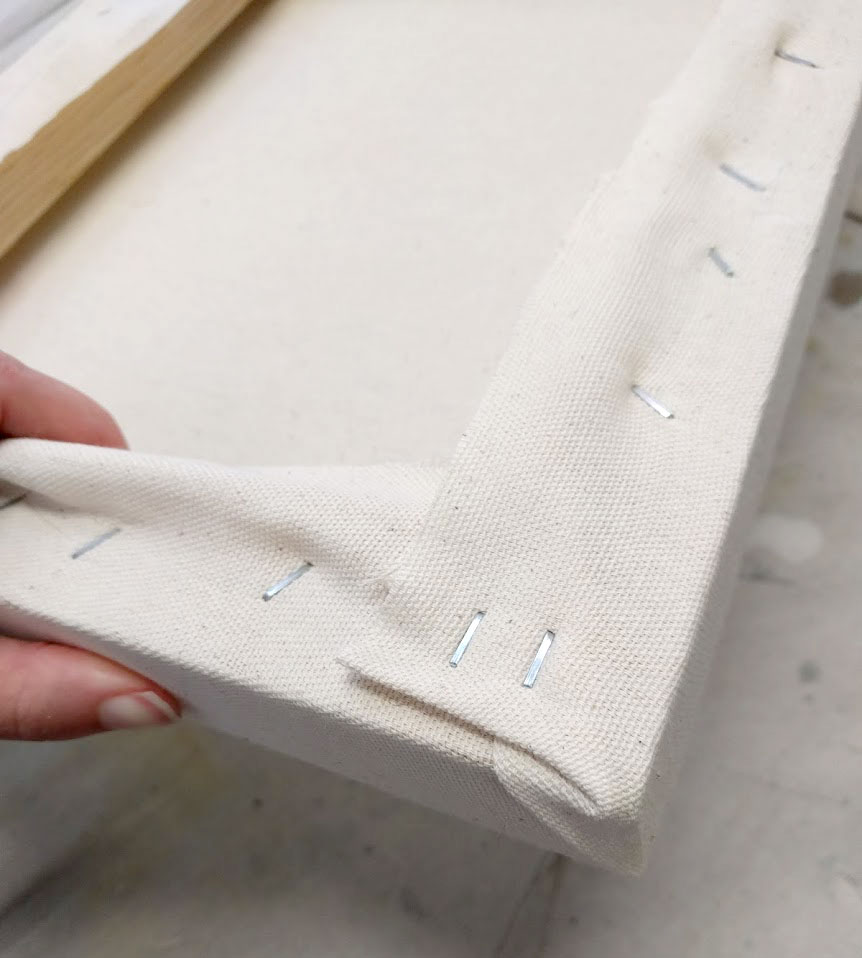
Step 7.) Corners
Everyone has their own method of doing corners, I personally prefer the diagonal 'giftwrap' edge - but feel free to play with the corners and do what feels right. For my corners, I pull the loose canvas across the stretcher corner to make a point, I crease the point and pull it downwards, then fold the excess back into the pocket it makes and staple down. It sounds much more complicated than it is! There's loads of tutorials on how to make more squared off corners on youtube, if this method doesn't float your boat try one of those.
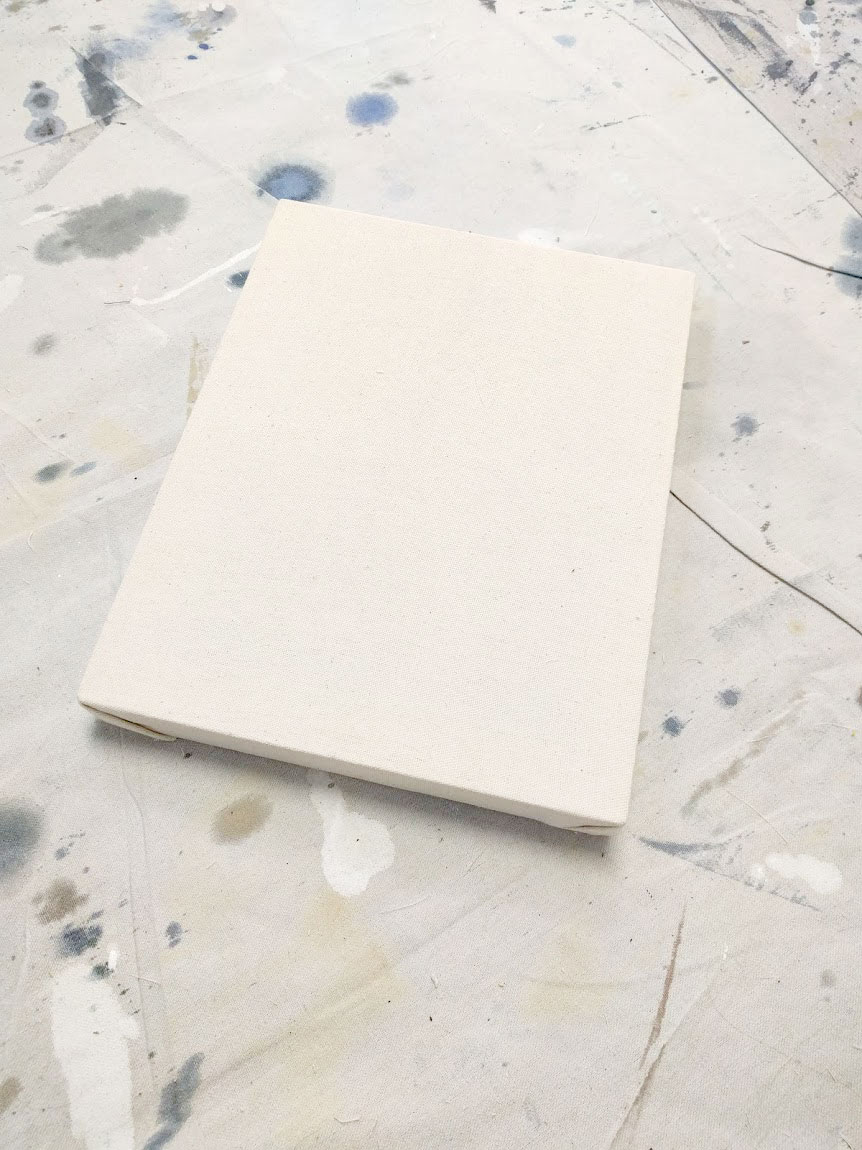
Step 8.) Bask in the Glow of a Completed Canvas
When turned over, canvas should be pulled tight, clear of any bubbles. If it still has bubbles pull out some staples and try again. Making canvases isn't easy, but once you have a few under your belt you'll get the hang of it.
I'm always so happy to share my process, anyone have something they would like to see written out step-by-step?
<3 <3

#artistonvacation -- My Travel Supplies

I've been receiving some great questions via Instagram (@ellen_the_lemon) about the travel art supplies I've been using as I explore and paint Chile. In an effort to be helpful, I thought I would put together a post with some info on the items I tend to use the most.
Everything in my Bag:
1.) Watercolor sketchbook (moleskine)
2.) Watercolor Marker (Winsor and Newton)
4.) Waterbrushes (Niji and Sakura)
5.) Ballpoint pen
6.) Pen (Lamy)
7.) #2 mechanical pencils

I use two waterbrushes for most of my travel work; a thin tip from Sakura and a fat, flat from Niji. Since I'm working in such a small format in the sketchbook, these two sizes generally have me covered. If I have a little extra room in my bag, I might pack one of my Hake brushes, but usually not for international trips.

It's no secret - I'm in love with indigo pigments. So much so, that I bought a few watercolor markers in that color for my on-the-go indigo needs. The marker itself is vibrant and heavily saturated and stands alone as an inking tool excellently. Add a little water with the brushes, and it flows into a pool of pigment that I can push around however I see fit.

My Sakura Koi travel palette has been a staple for my last 5-ish international trips. I love the compact size of the kit, pop-up palette, little sponges and vibrancy of the paints. It fits in my bag easily, and unfolds quickly for whenever the mood to paint strikes. Which is fairly often :)

It took me quite a few trips to narrow down what I use and what I don't use, to eventually end up with a small bag that had me covered -- so keep in mind that building a travel art supply kit is exceptionally personal. It's all about what *you* want to grab first, what will allow *you* to make your work ... this is just what works best for me :)
I am always curious about what other people use to make their art on the go, so I put out the question to Instagram and got some very helpful responses. Head over to my instagram to check them out!


What about you? What are your staples in your travel kit?
PS. Travel Tip :: A lot of restaurants have paper menus. If kept clean, they make excellent protective barriers for painting in hotel rooms. The paper mats pictured here came from Bocanariz, a lovely little place in Santiago :)