
Studio Tour
I think I probably rearrange rooms in my living spaces 2 - 3 times before the layout feels right; before everything clicks and I can exist in the space without wanting to swap chairs or move a couch towards the window. With my studio(s) it's definitely more like 5 - 6 rearranging sessions before I feel like space is utilized correctly. So here I am, with layout #2, not feeling 100% - but definitely much closer to a perfect arrangement.
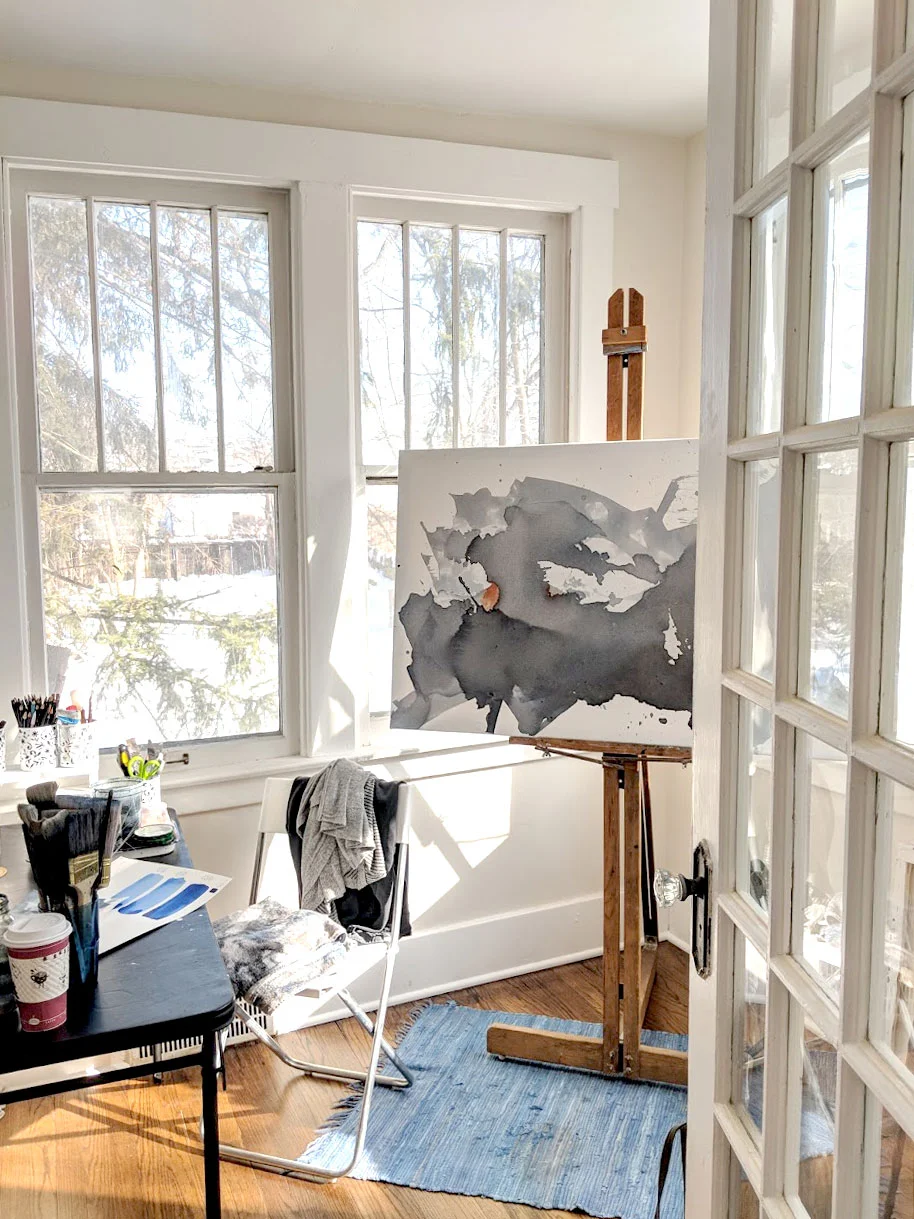
I don't have a ton of space here, as I sacrificed square footage for lighting. I still think it was the right call as I'd rather paint by the light of these windows and need to have a good method for storage/drying/working, then be in a larger room without this light. With that in mind I needed to get a few more drying surfaces and storage cabinets into the room, while maintaining as much access to floorspace as I could (I paint on the floor.) I also wanted a surface I can easily move and position a camera over - as I am planning on doing more video tutorials.
A trip or two to Ikea later I came home with a few more shelves/bookcases/tables to try out - and after building (and rebuilding!), think I have a decent handle on a layout for this place that checks most of my boxes. I'm sure I'll change it in a few months, but I thought I'd share this iteration of my studio layout.
EH Sherman Studio Tour V2.0
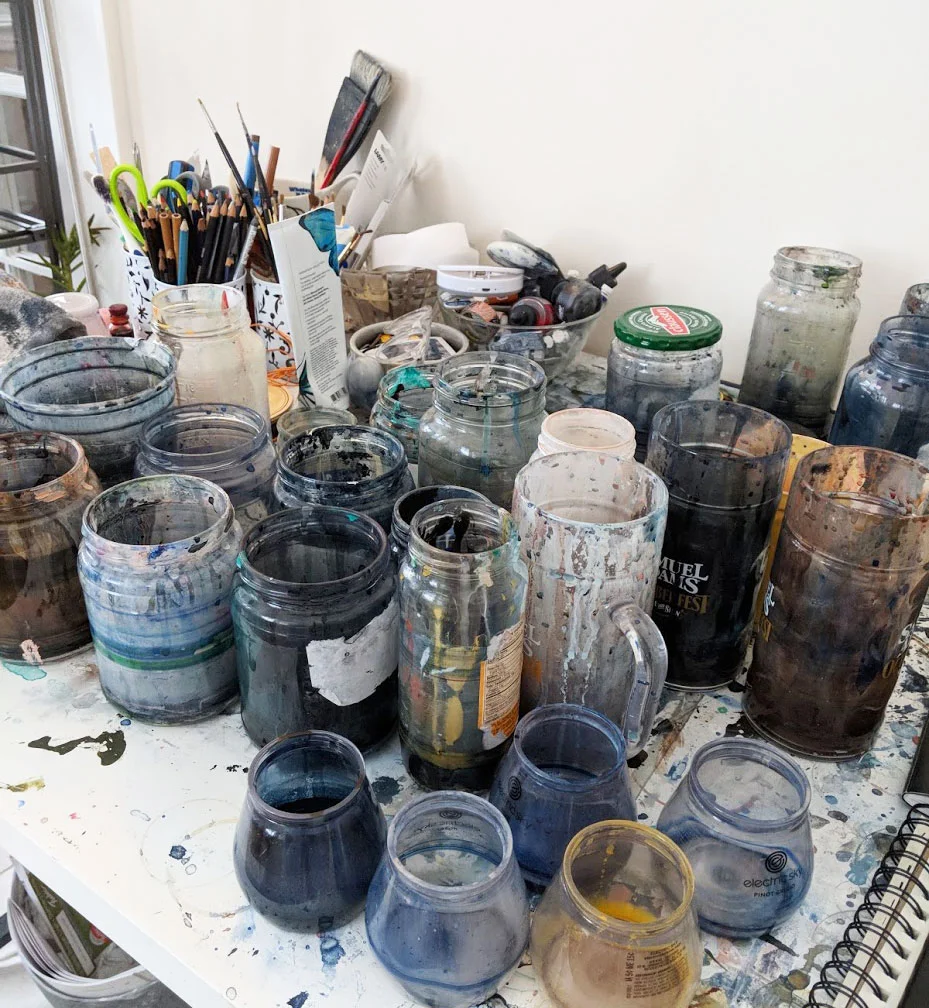
This desk was less of a painting space and more of a water/mixing cup collector.
Now they live in here!

This folding black table will serve a few purposes - packing orders and filming are two of the main ones.
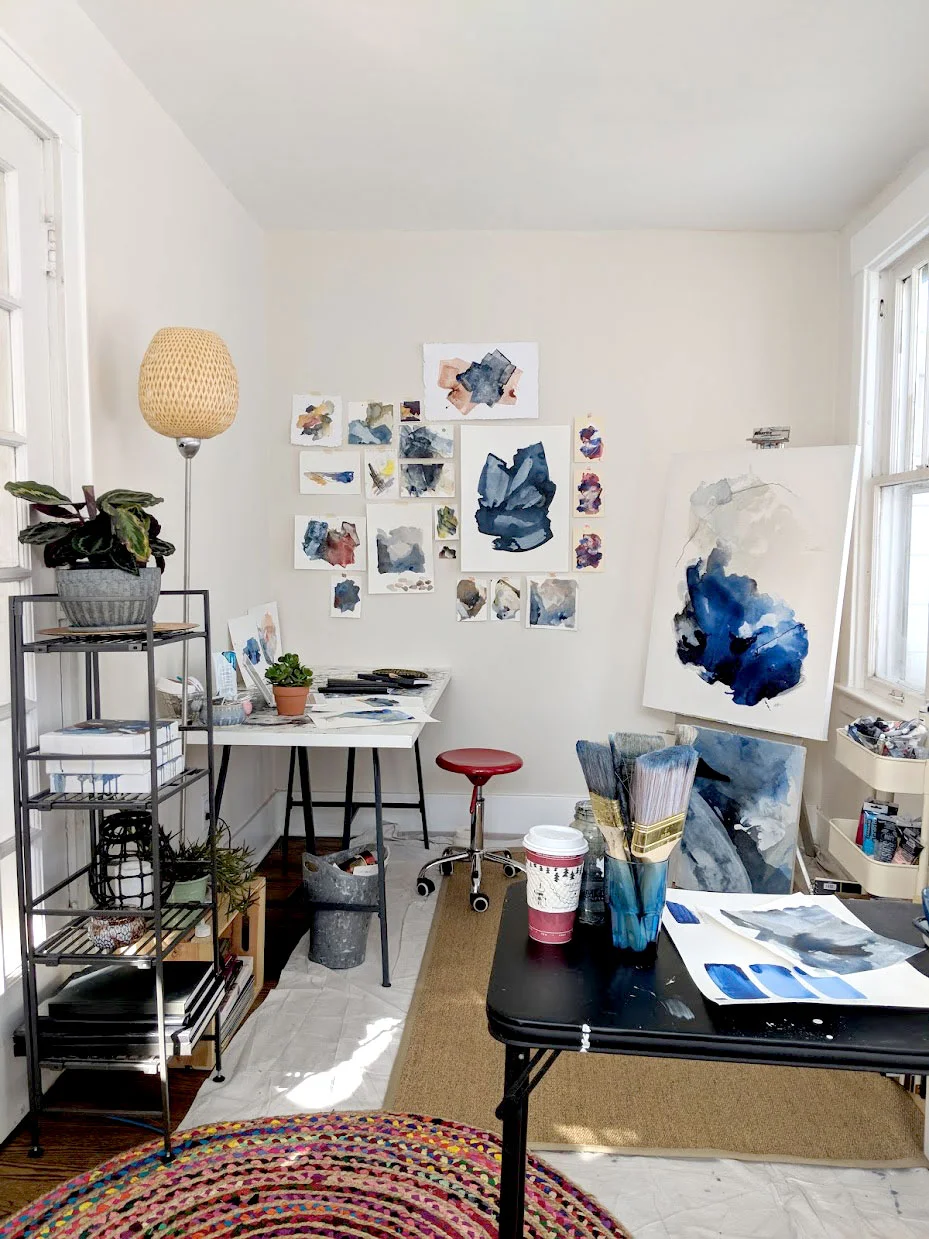
See that red cup in front? Lemon Ginger Tea from Sweetwaters here in Ann Arbor. It's so pulpy and delicious!
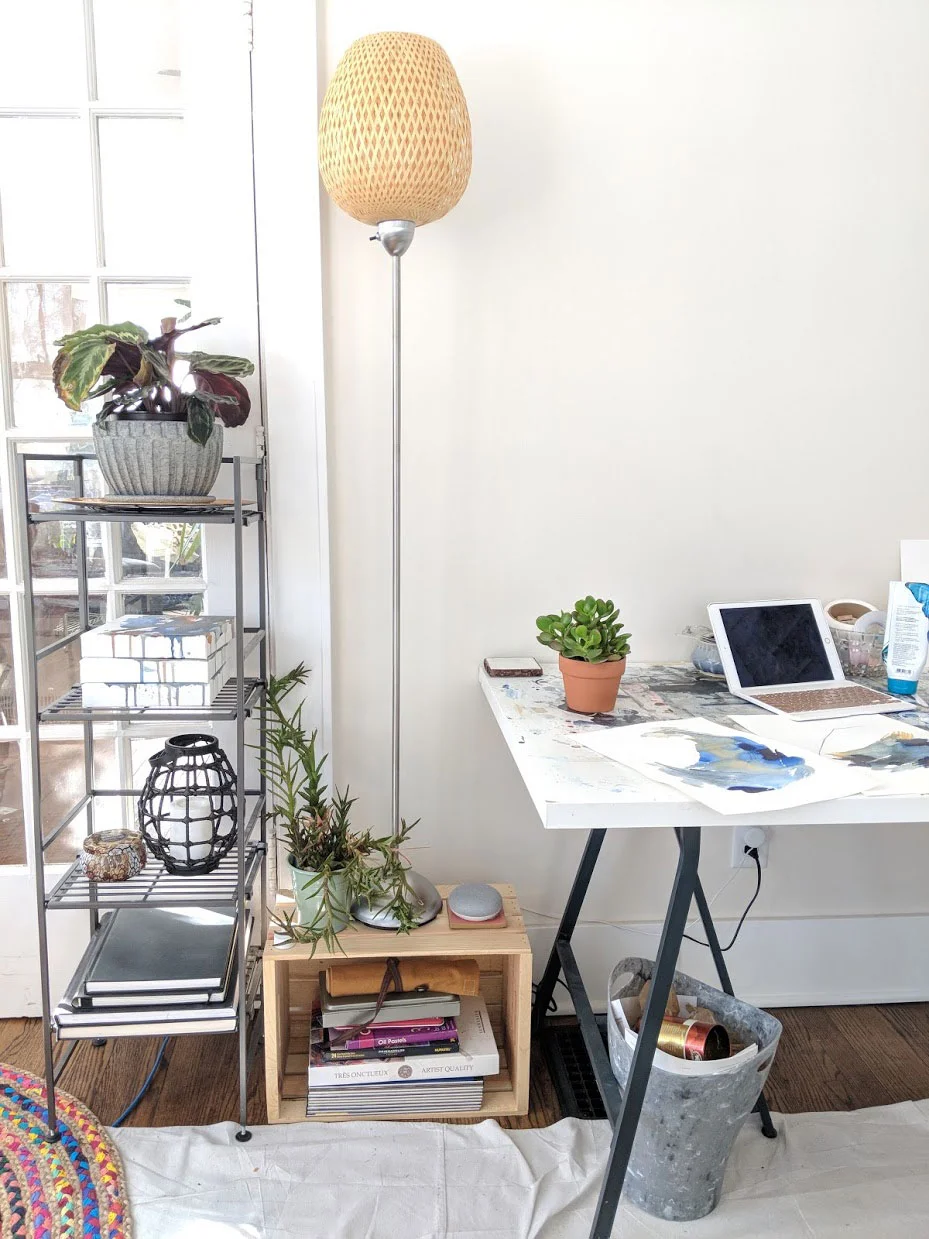
Plant corner. I wanted to move the google home mini closer to the middle room here, I use it while painting nearly everyday; volume-voice control is so key when my hands are covered in paint!
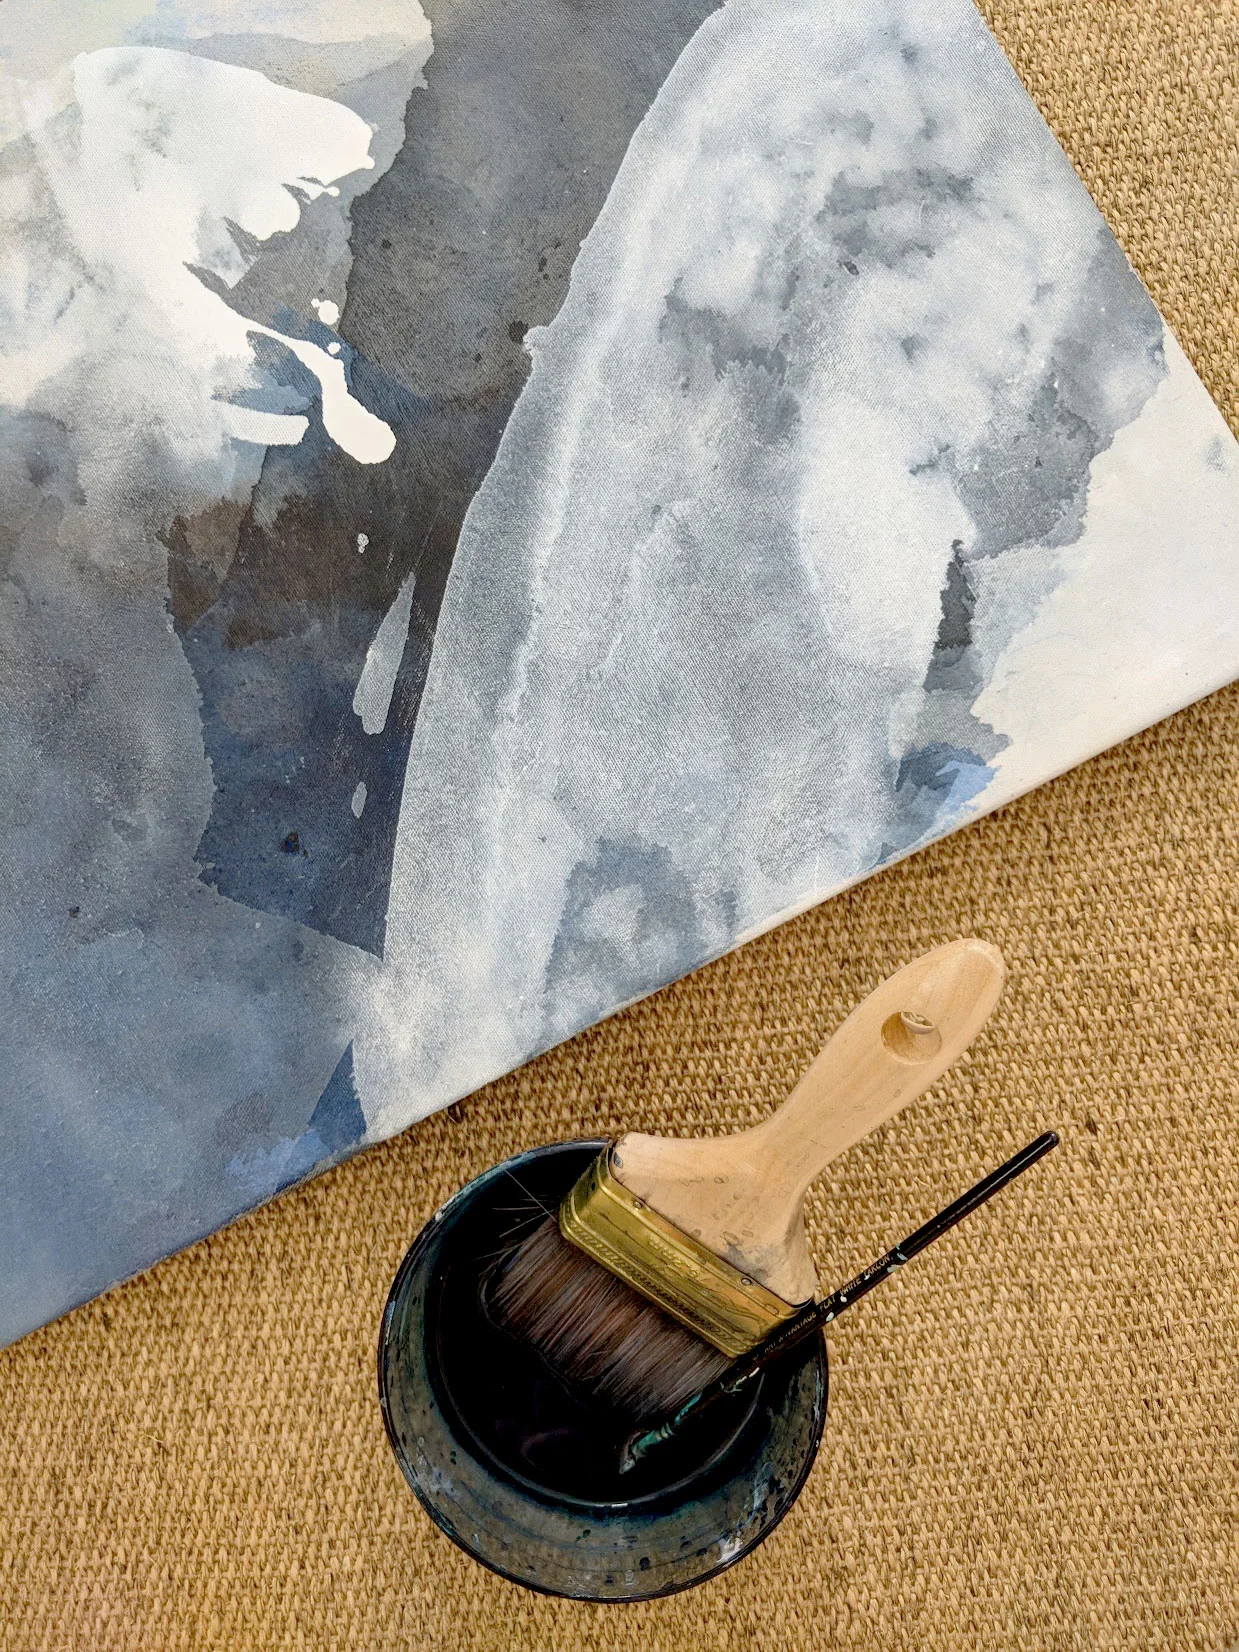
As we just redid the floorboards in this room, I'm pretty keen on protecting them as long as possible. Two dropcloths and this jute mat should help mitigate flying paint. I'm excited to see what the paint does to the mat too!
Desk space has been cleared for work finally.
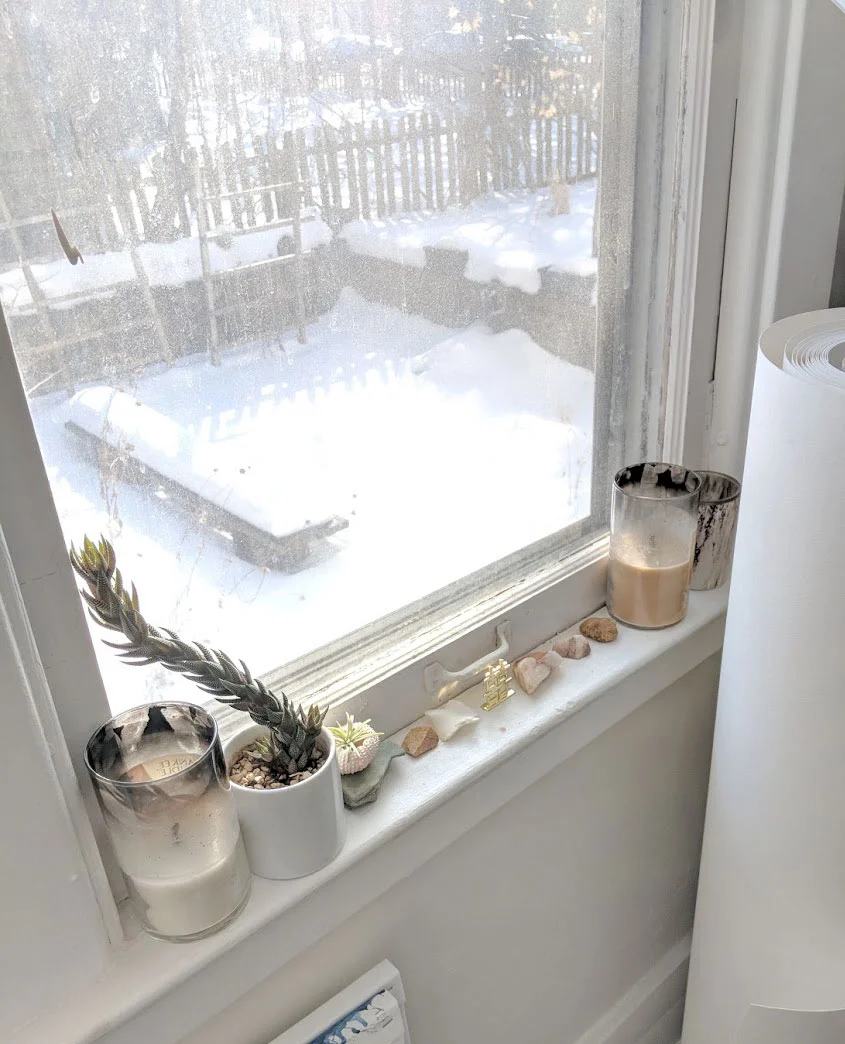
I had a bunch of canvases stacked over the window, which is fine in the winter but that space out there will be my little herb garden and I know in the spring/summer I'm going to appreciate seeing the plants grow as I paint.
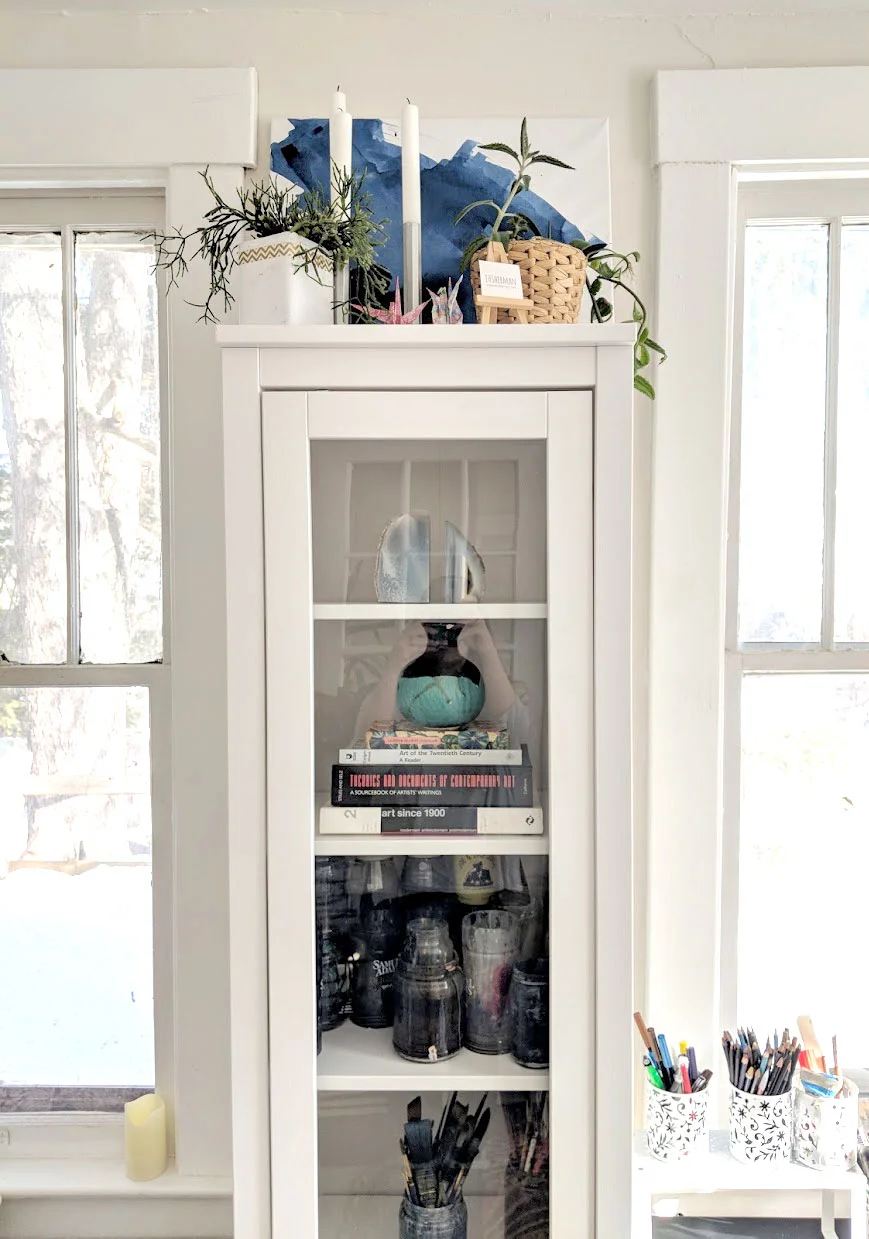
More plants on top of the cabinet. It's not my studio without plants.
Like I said, this arrangement will probably only last for a few months but I'm really happy with the additional surfaces and storage. Should help keep this space a little more organized.
What does your studio look like? Is there anything you want to change? Let me know in the comments or send me a message on instagram (@ellen_the_lemon), I LOVE to see studios!
On Thinning Acrylics
I receive a lot of questions regarding the types of paint I use in my work. It’s not outwardly apparent in most cases (which is what I strive for; I want my work to be about the colors and rhythm and not it’s materiality), so thought I’d put together a little information on how to make and use thinned acrylics like mine.

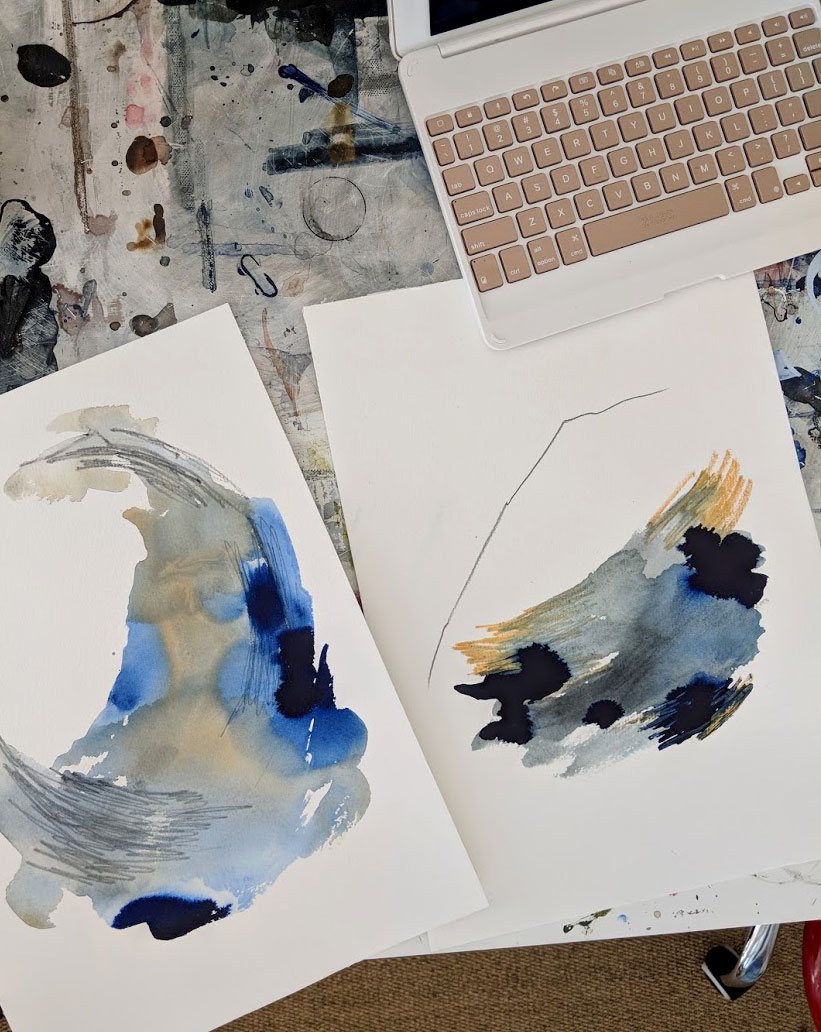
What I’m searching for is pigment without texture, color made from layering pigment, and preserving the natural randomness of water.
I began with watercolors, building washes and layering on paper, but when I started to expand the dimensions of my paintings and wanted to work with ever-so-slightly more opaque paints I switched to thinned acrylics.
I know there are a number of other ways to approach this technique - I’m just going to detail mine here. If you have another method, please feel free to share with us in the comments!

Washes vs. Glazes
Brands Used:
Golden Acrylics
Liquitex
The paints I work with would generally be considered a “wash.” A wash is when you add 60% (or in my case - more) water to the pigment.
On washes:
My washes are generally more than 60% water to pigment.
With water only, experimentation is so important (and fun!). It’s critical to see how the paint reacts to the added water and to the desired surface, as there are so many variables that affect the outcome. (Water + pigment on wood is so, so different from the same water + pigment on canvas.)
I use golden acrylics and thin with water according to the colors/movement I am aiming to create in the final painting. If a lesser quality of paint is used, no amount of vigorous shaking will force all the particles into the fluid - there will be chunks. I say that as a heads up - it took me a few very sore arms to realize that some paint just wants to be, needs to be solid. I still use these paints but in other situations where their consistency is required.
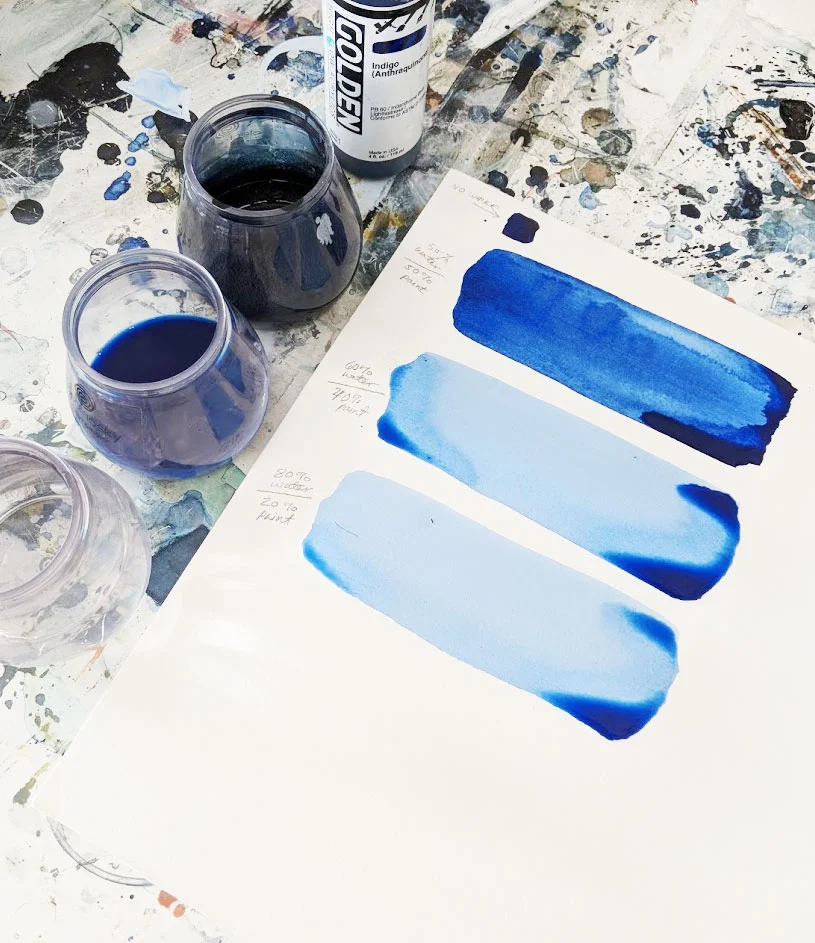
The top swatch is 50% water with 50% paint. Middle swatch is 60% water to 40% paint. Bottom swatch is 80% water, 20% pigment.
On my process:
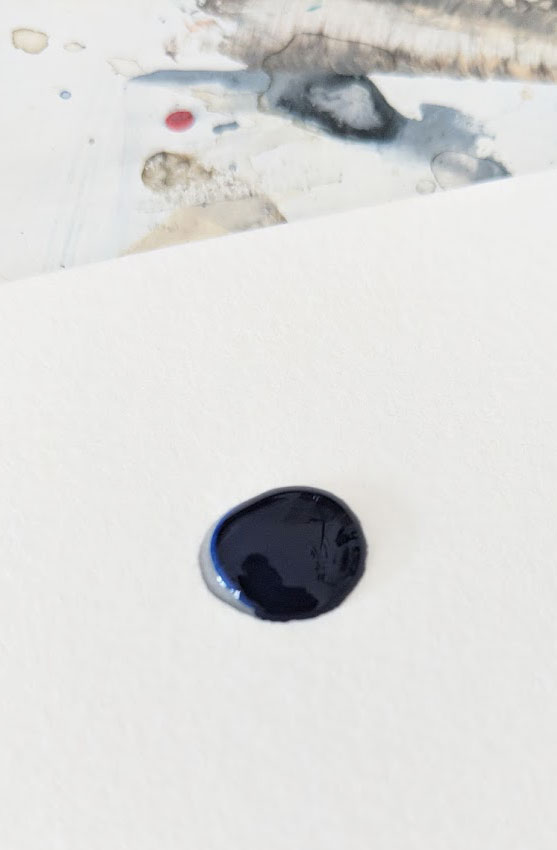
I mix these three ratios of paint in three jars. With a jar of clean water on hand, I sketch the forms on the canvas or paper with the lightest wash (80/20). I'll build layers with this until I require a bit more depth and then I switch to the middle hue. When the forms are fully realized and the painting is nearly done, I'll go back in with the 50/50 mix and add the final pools.
On Glazes:
Various mediums can also be added to the paint, creating a “glaze.” Glazes are made when you add 60% (or more) medium to the pigment.
Mediums:
There are a multitude of mediums for every texture/consistency under the sun. I’m just going to cover those that I use to thin paints in this post (but if you have questions about other mediums or molding pastes feel free to ask me, I’ve used multiple brands of everything at this point...)
Glazing fluids have the same adhesion that acrylic paints have, just without the color. When added to acrylic paint they don’t preserve the texture of a brush and can be mixed in without having a significant effect on drying time. To create thin paints without a lot of running colors (mural work, canvases on the easel) glazing fluids are a good bet. Just make sure to read the mixing directions on the bottle as ratios vary by brand.
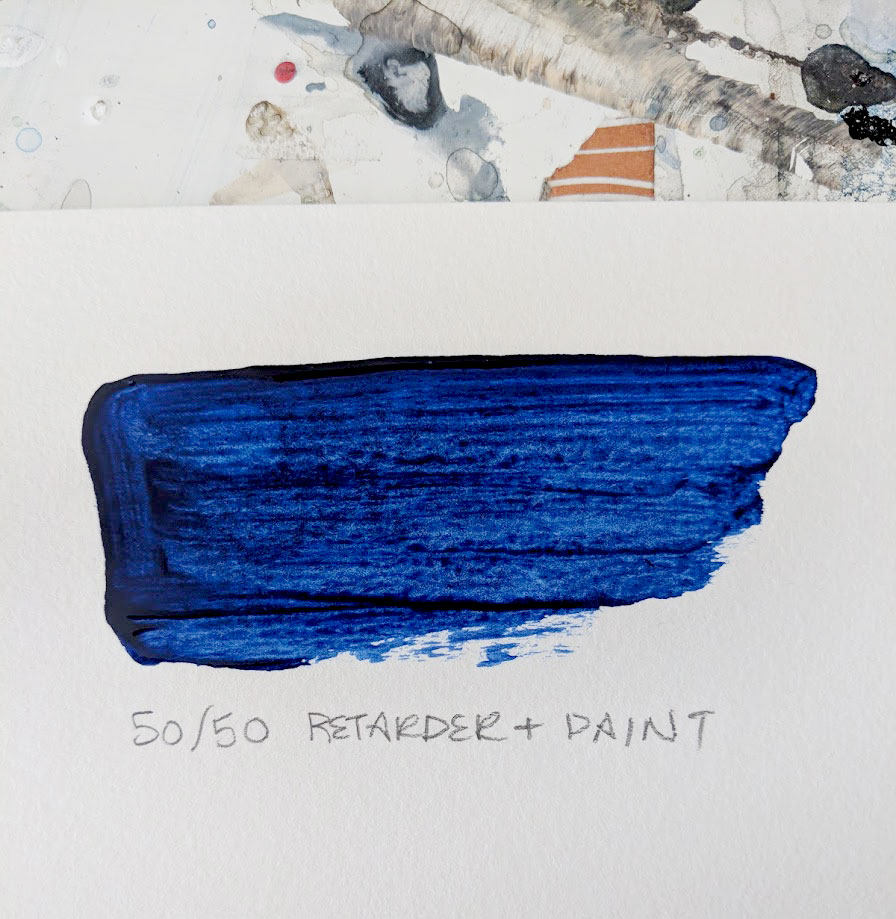
Retarders are used to increase the drying time of acrylic paints. I spent a fair amount of time painting in oils and got very, very used to the slow drying times. Mixing a retarder with acrylics not only thins the paint, but allows for the wet-on-wet techniques that you might find with oils. Be careful when adding retarders to ONLY thin however - as too much will give your painting a drying time of multiple days (or more!). Again - make sure to follow the directions on the bottle, most retarders do not recommend more than a 1:1 ratio.
A Note on drying times:
Acrylic always dries darker, watercolor always dries lighter. When working with thinned paints that rule still holds true. When mixing acrylics with colors before thinning - it’s important to remember that the deeper colors will come through as it dries. The most beautiful pale pink can easily shift to a ruddy rose in a few hours. Again, experimentation is key!
Working with thinned acrylics is all about personal preference and desired outcome…. paint by numbers doesn’t work so well here. Experimentation is the most important thing; finding a pool of paint that resonates in your soul and that you respond to is the key to working with the medium. Don’t panic if it doesn’t happen right away, just keep playing with the paint until your creative soul finds it’s home.
Rise and Art
If you follow me on instagram, you’ll notice a theme in today’s story and post. I talked a bit about Rise and Art - a program that provides grants to emerging female artists. I was thrilled to be able to be a part of this collective (through work donation and as a juror for the grant) as I know firsthand how difficult it can be to wade through the masses online to find your audience.
I am so honored and excited to be able to give back.
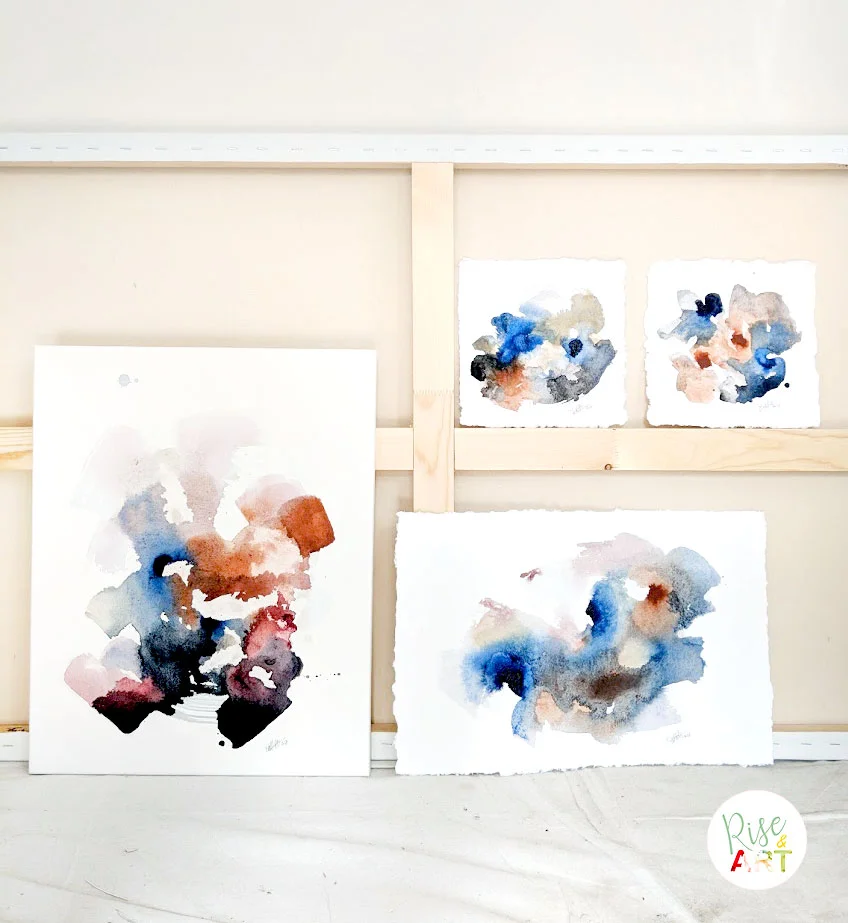
Founded by Karen Ruane, 50% of the sales of Rise and Art noted work goes to the funding of these grants, awarded to female artists in the US with less than 1000 followers on instagram.
Look for the R + A badge on my paintings to see the work that will go to fund one of these grants, or stop by the page to see work from other female artists.
Are you an emerging, female artist in the US with less than 1000 followers? Click here to apply for the grant!
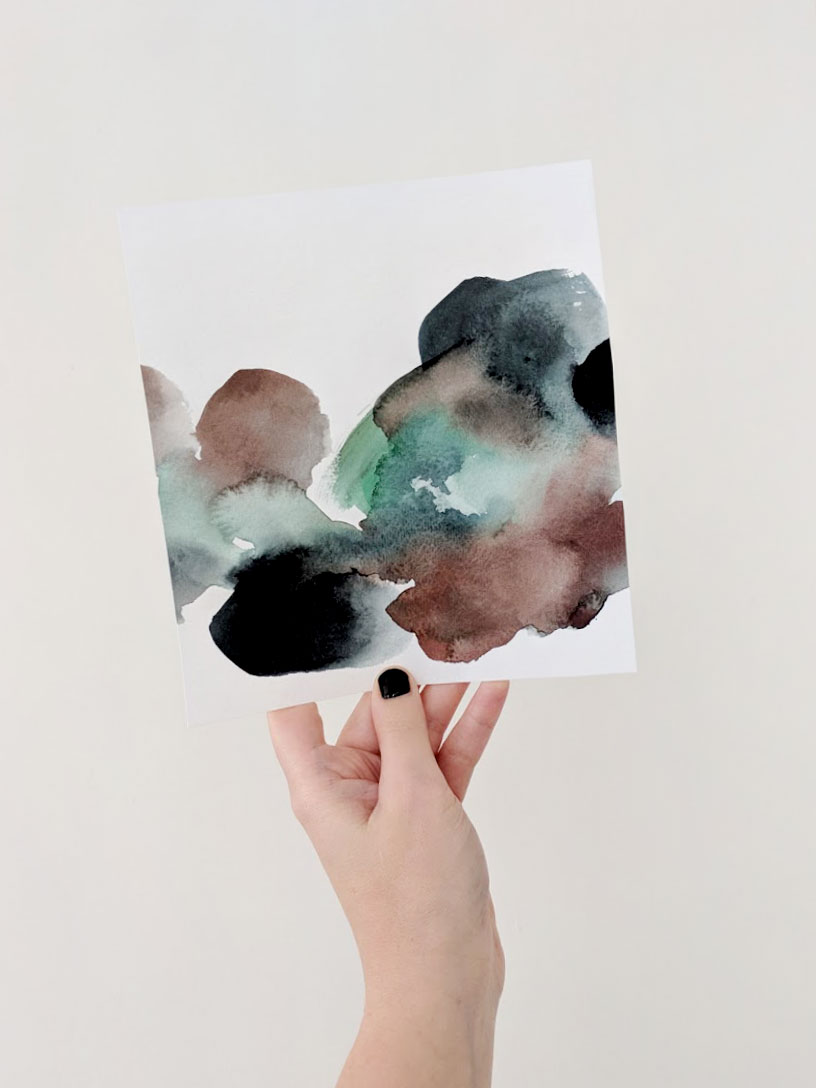
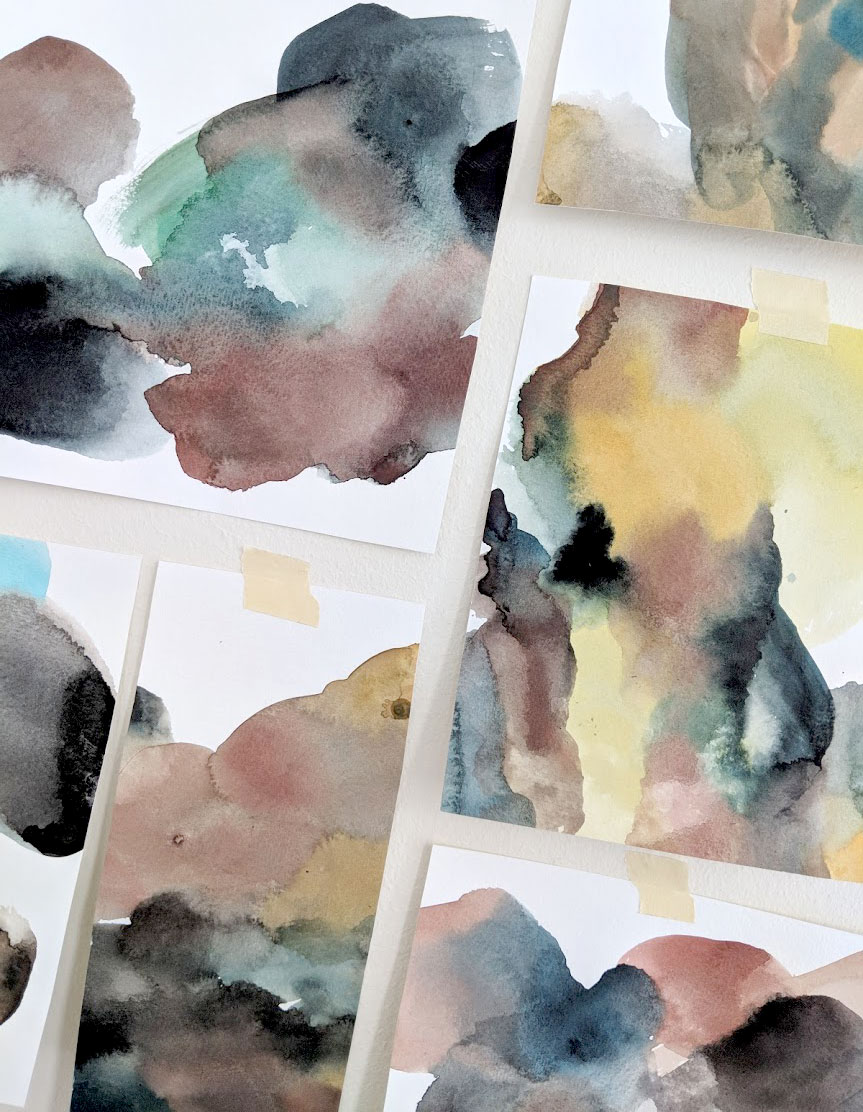
Compositions and Cutting up Work
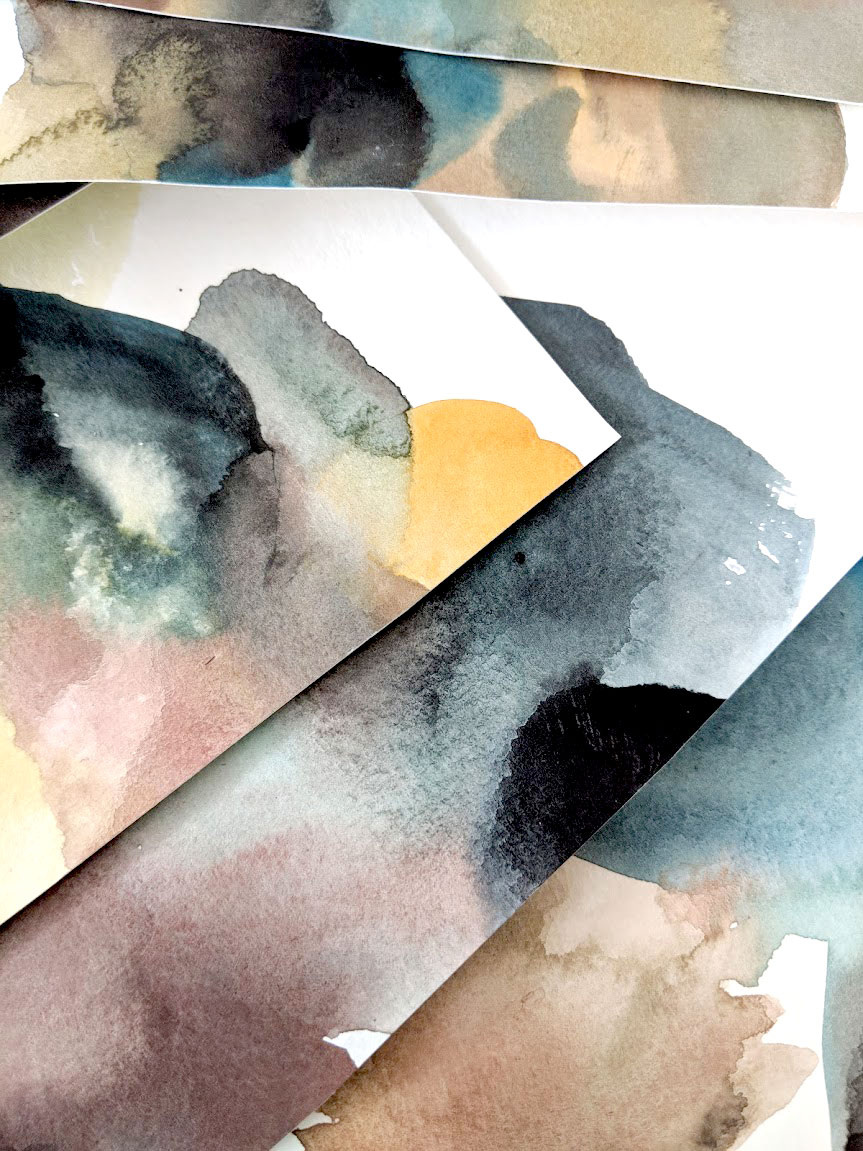
I've got a lot of work laying around. Color studies, experiments, paper-tests... these all add up to stacks of work that aren't suitable for sale, but are too interesting to just throw away.
So I cut it up.

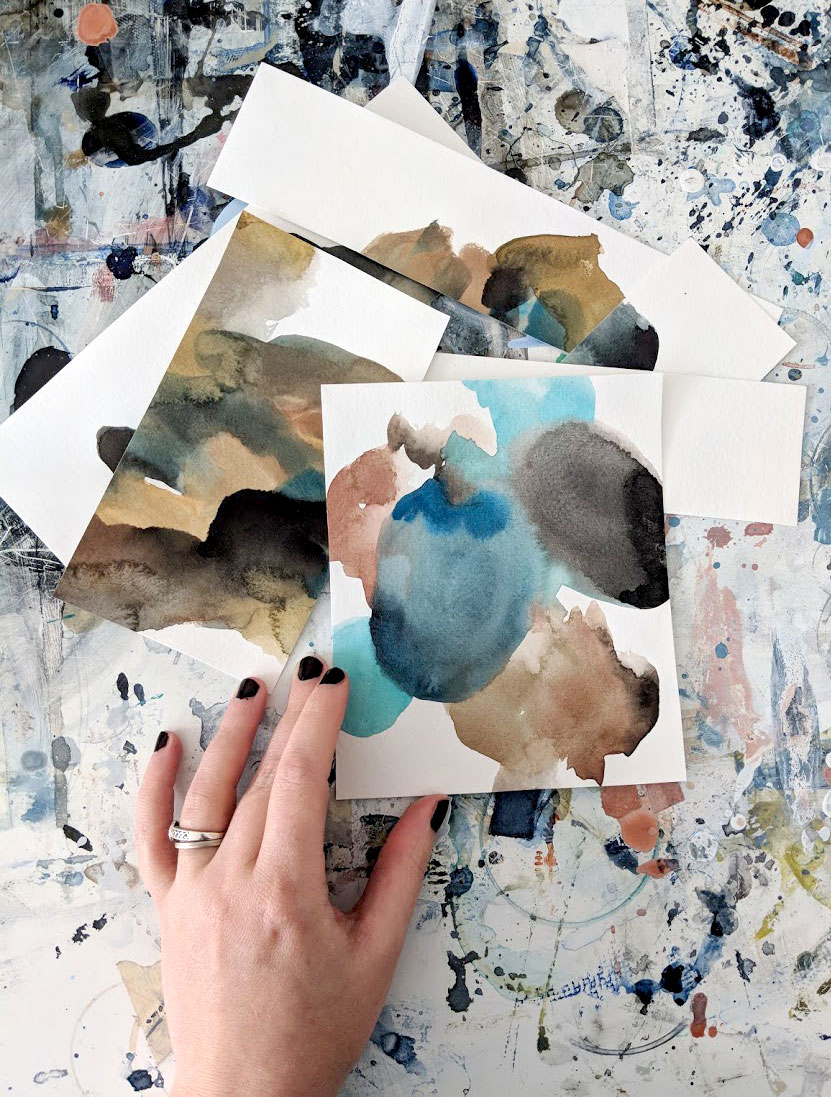
I begin by finding areas that call to me, that seem like there might be more to their story if they could stand alone and then cut them out. I don't really pay attention to size or orientation, just allowing that small moment to exist without the trappings of the rest of the painting. (I've cut some 18 x 24s down to 2 inches in my pursuit!)
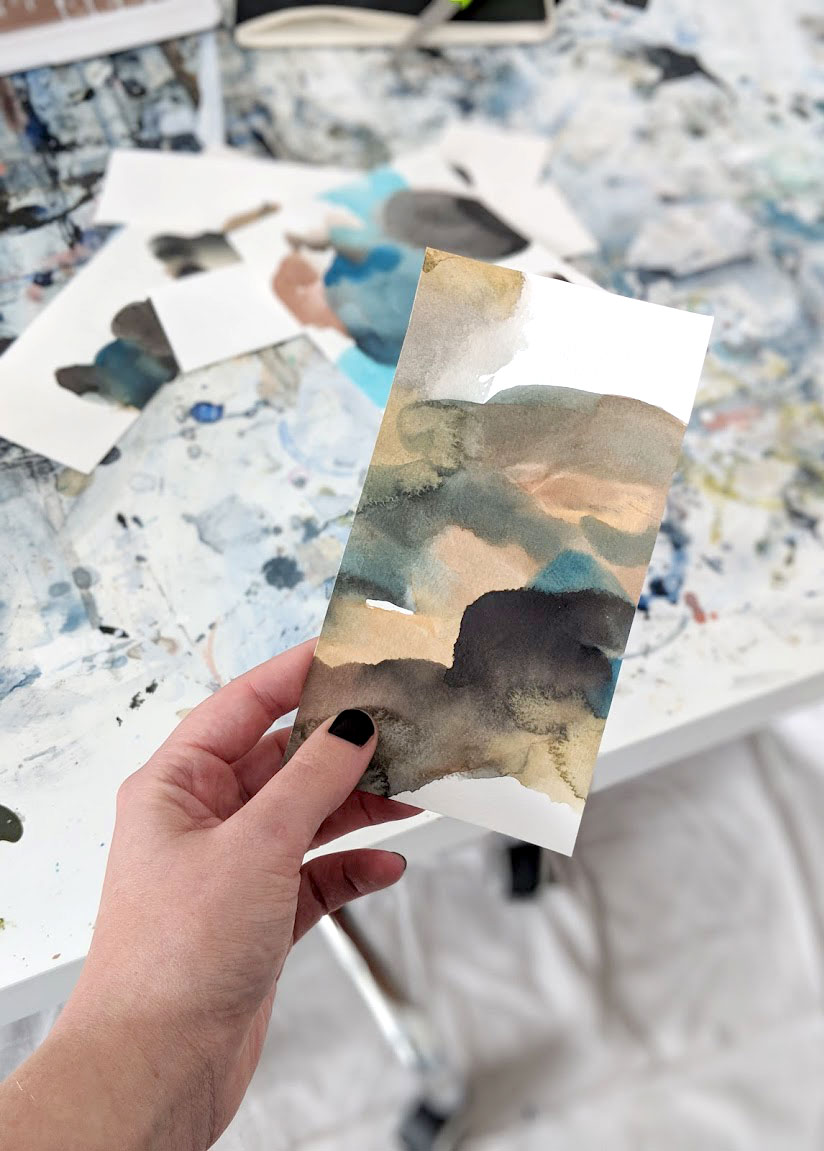
Once I have my pieces, I like to examine each one - flipping them over and spinning them until that moment becomes a new composition. I'm looking for something I haven't done before, something that begs to be explored, something different. Occasionally I'll tape them up on the wall, here I can flip and manipulate with my mind on other work -- which usually allows the better compositions to percolate to the top of my consciousness.

Armed with a fistful of new compositions, I take these to my sketchbook to explore further. Some end up paintings, some end up taped into the folds to play with another day, but all of them teach me something about how and why I do the work I do.
What do you do with old/experimental work? Do you cut it up too or use it for other purposes?
Happy 2018!
Happy 2018 friends.
Just wanted to check-in briefly here to officially reopen my commission page for 2018, talk about a few changes you might see in this space. (And to say “hello!”It’s been awhile!) Hope you all had a warm holiday season and a great start to the new year!
On the subject of commissions; my studio is back up and running in this beautiful new space, recharged and revitalized from the time off. To get started on a project, you can either email me here, or fill out the form here. Projects are being scheduled for February-April currently, so let me know if you have a rush deadline.
Regarding changes; I’m in the middle of a site overhaul. (Finally!) Tending to my web presence hasn’t been top of my list for the last few months, with shows and holidays orders demanding most of my time. Now that I’ve got a pretty good handle on my winter schedule I’ve been able to devote some time to update my available work and redesign the flow of my site. I’m hoping to having it completed soon - sign up for my newsletter to get word of the official relaunch.
In other news, my Instagram following just passed 30k - a very nice little surprise to start off the year. What began as a personal, journaled approach to my art practice has morphed into a space I couldn’t have imagined. I’ve made lifelong friends, been a part of some truly fantastic projects and have found a wonderful community of artists and collectors to connect with. If you follow me over there, thanks so much for coming along for the ride - it’s been such a pleasure to share my process with you <3
Cheers to 2018!
